Harvesting and Curing Onions

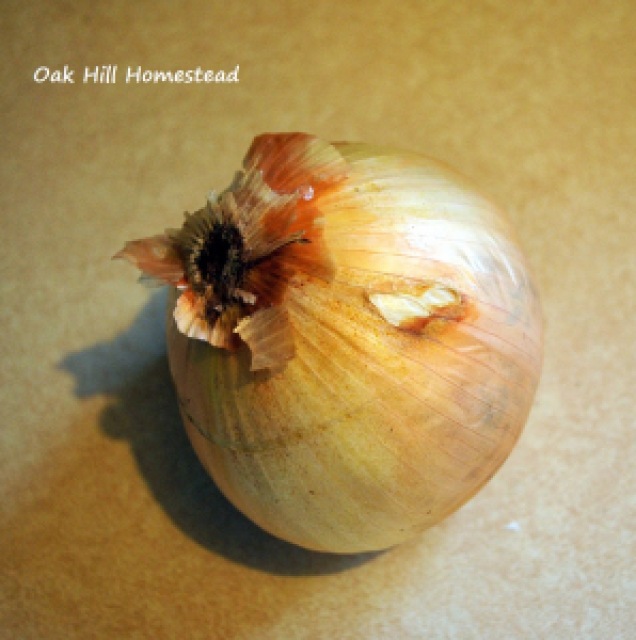
Knowing the proper time to harvest veggies from the garden can be difficult.  Luckily, with onions there is no guess work.  You can harvest onions throughout the season to use as you need them, or you can leave them in the ground to get bigger bulbs.  Once the tops of the onions fall over and dry out, the onion bulb will stop growing.

Harvesting the onions can be as simple as grasping the stalk and pulling.  The bulb should pop right out of the ground.  If you have a stubborn onion, you can simply stab a small hand spade under the onion and pop it out, just be careful to not hit the onion.

Once the onions are harvested, they need cured prior to storage.  It is best to harvest the onions on a warm sunny day, so you can let your onions begin to cure in the sun for a day or two.  After that, or if the weather is not cooperating, they need to be placed in a shady location with good airflow.  Good airflow is very important so make sure they are spread out and not stack on top of each other.  We used a short, wide crate with lots of air holes.  You can lay them out on a table, or even braid the stalks of several onions together and hang them to cure.

Onions curing in our crate.

After curing for two to three weeks, the roots and any stalk remaining should be dry and brown.  Also the skin of the onion should be very dry like paper.  After this onions can be stored in a cool dry place.  Onions properly cured can be stored for up to six months.

More from the Winter Onions Series:

Our First Winter Onions
4 Month Update
5 Month Update (Comparison to Annual Onion Sets)
6 Month Update
Harvesting and Curing Onions
One Year Update

It’s NOT the Great Pumpkin, Charlie Brown!

No, it’s NOT the Great Pumpkin, Charlie Brown! However, we did officially have a “pumpkin harvest”….barely.

Last year we only planted mini pumpkins. They started out great, but the stink bugs destroyed them literally over night. This year we had higher hopes. Cornfield Pumpkin and Connecticut Field Pumpkin seeds is what we planted this year. As par for the course, we do not remember which we planted where. So, as they grew we did not know what we had. Does anyone else do these kinds of things?!?

Continue reading “It’s NOT the Great Pumpkin, Charlie Brown!”

Chicken Cam: 6 and 7 Months Old

It seems time has just flown by recently. There has been so much to get done. It occurred to me that I haven’t taken any pictures of the chickens in quite a while and my have they grown! We had such a gorgeous day today. We were just enjoying the beautiful day that God had blessed us with (for the little bit we had at home this afternoon) and so were the chickens.

6 Months Old: Our Barred Rock Roo, The Hoff, and One of the Barred Rock Pullets
(They are Technically Pullets Until 1 Year Old)

Continue reading “Chicken Cam: 6 and 7 Months Old”

How to Pressure Can Crowder and Blackeyed Peas

A crowder pea is any variety of cowpea bearing pods with closely spaced (crowded) seed (peas). Last year, we grew Top-Pick Crowder Peas and saved some seeds and planted them this year.

Purple Top Pick Crowder Peas

We love crowder peas. They are our favorite, but we also planted blackeyed peas as well. Both are in the cowpea family. This method below will work for any variety of crowder pea, blackeyed pea, purple hull peas, etc.

Continue reading “How to Pressure Can Crowder and Blackeyed Peas”

DIY: Inexpensive Easy Drying Rack

Not long ago, my better half decided that we needed a drying rack when she was inspired by Magnolia Holler’s Herb Drying Rack.  It would come in handy for drying our garlic and our winter bulblets.  Being frugal (read: cheap) we settled on a rather inexpensive design.

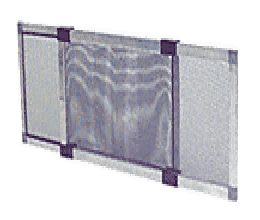
We started with an adjustable window screen.

Photo Credit Google

Continue reading “DIY: Inexpensive Easy Drying Rack”

Bacon Wrapped Squash | Squash Pan Fried in Bacon

Are you trying to find new and inventive ways for cooking your bountiful supply of squash, then give bacon wrapped squash a try!  Sometimes with a bumper crop you start to get tired of eating the same old thing over and over again. This was the year for squash.  Anything with bacon must be good, right?

It is so simple and a real nice change of pace with the squash.
Continue reading “Bacon Wrapped Squash | Squash Pan Fried in Bacon”

Bare Root Raspberries 7 Month Progress

We had planted 2 raspberry vines last year, but they never grew and died. They were a part of the shipment that got lost, came late, and were planted late. So back in February on a trip to Tractor Supply we bought 4 more bare root raspberry canes (2 Heritage Everbearing and 2 Latham).

We planted the raspberries just a few days later and said a little prayer.

Heritage Everbearing Raspberry Cane

For what seemed like the longest time there was again no sign of life. Then 2 months after planting we finally saw some green life to them.

Continue reading “Bare Root Raspberries 7 Month Progress”

Garden Update

Much of our garden has turned into a jungle. Between all of our excessive rain and just getting busy with harvesting and the rest of life the weeds have taken over! Many plants are coming to an end or dwindling down now. Our second planting of green beans, black eye peas, and crowder peas are doing well. But what has me anxiously waiting the most is our watermelon and pumpkin.

Last year we only planted 4 mini pumpkins. It was a little late in the season and we knew we would not have time for large pumpkins.Those started growing wonderfully, but over night (literally) they were destroyed by stink bugs! I was disappointed. And we did not even plant any watermelon. I’m not a big fan of watermelon. I’m surprised I’ve not been kicked out of the south! But the rest of our family likes it. So since we had neither last year we are anxious about this year’s crop.

Continue reading “Garden Update”

DIY: Bathroom Redo and Painting Tip

All of our main bathroom fixtures were a horrible powder blue. Yes, that’s right powder blue! I have hated it from day one for the last 14 years. Let me tell you, all blue toilet, sink, and tub really limit your painting and decor options. And now due to about 25 years of age they were really wearing out. Much of the glaze had worn off from the inside of the tub making it ugly and dull and hard to clean stains. The walls of the shower were tile and had been repaired multiple times and really just needed to be completely removed or redone. Every time I cleaned the sink and counter little blue chips of the sink was starting to flake off.

So finally, over the course of the last couple of months we have been gradually redoing our bathroom. Jon replaced the toilet and sink/cabinet a couple of months ago. Jon started with the toilet as it was just the easiest part of the process. Then a few days later, the sink was a particular challenge as the nook it sets in is not any standard size and we refused to pay custom cabinet and counter top prices. But with some special cutting into the sheet rock and 2 sink/counter tops later it was in and looked good. Tip: If the counter top is a tight fit, the bubble in the level says it isn’t quite level, and it is still slightly wedged between two walls do NOT sit on it and bounce to coax it the rest of the way down. If you bought the cheap affordable cabinet with the cheap thin counter/sink it may spider into a million pieces. We can laugh about this now, but were not laughing at the time.

Continue reading “DIY: Bathroom Redo and Painting Tip”

How To Make Chicken Broth

What super-food can you make for pennies, maybe even for free? Chicken broth is healthy, very simple to make, and supports your immune system. And did I say it’s inexpensive?

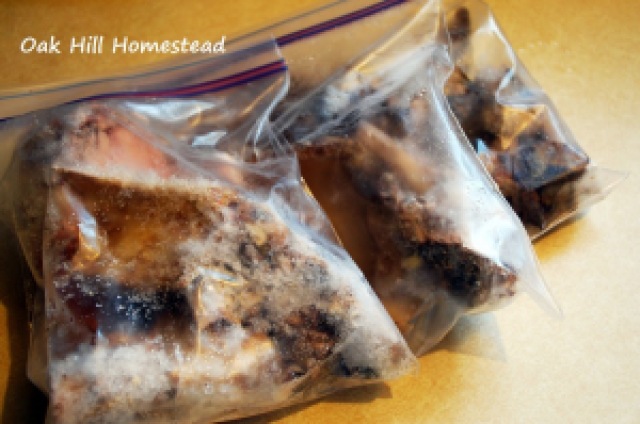
Whenever I make chicken for dinner – at least once a week – I remove the bones and put them in zippered freezer bags. The bags go right into the freezer.

Continue reading “How To Make Chicken Broth”