Harvesting and Curing Onions

Knowing the proper time to harvest veggies from the garden can be difficult.  Luckily, with onions there is no guess work.  You can harvest onions throughout the season to use as you need them, or you can leave them in the ground to get bigger bulbs.  Once the tops of the onions fall over and dry out, the onion bulb will stop growing.

Harvesting the onions can be as simple as grasping the stalk and pulling.  The bulb should pop right out of the ground.  If you have a stubborn onion, you can simply stab a small hand spade under the onion and pop it out, just be careful to not hit the onion.

Once the onions are harvested, they need cured prior to storage.  It is best to harvest the onions on a warm sunny day, so you can let your onions begin to cure in the sun for a day or two.  After that, or if the weather is not cooperating, they need to be placed in a shady location with good airflow.  Good airflow is very important so make sure they are spread out and not stack on top of each other.  We used a short, wide crate with lots of air holes.  You can lay them out on a table, or even braid the stalks of several onions together and hang them to cure.

Onions curing in our crate.

After curing for two to three weeks, the roots and any stalk remaining should be dry and brown.  Also the skin of the onion should be very dry like paper.  After this onions can be stored in a cool dry place.  Onions properly cured can be stored for up to six months.

More from the Winter Onions Series:

Our First Winter Onions
4 Month Update
5 Month Update (Comparison to Annual Onion Sets)
6 Month Update
Harvesting and Curing Onions
One Year Update
Winter Onions – 6 Month Update

In November we planted winter onions for the first time. Winter Onions are also referred to as “Egyptian Walking Onions”, “Egyptian Tree Onions”, “Tree Onions”, “Walking Onions”, “Top Onions”, and “Perennial Onions”.

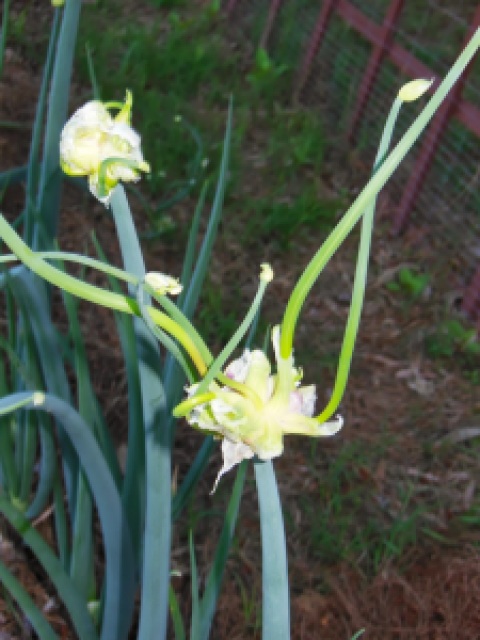
The blue-green shoots/stalks/leaves are round and hollow and typically grow approximately 3 feet tall. As the plant matures a cluster of bulblets will begin to grow at the top of the stalk encapsulated in a protective papery casing referred to as a tunic.
Continue reading “Winter Onions – 6 Month Update”

Winter Onions – 5 Month Update vs. Annual Onion Sets

Last year we planted our first garden late in April basically all at the same time. We did have some successes, but we had some failures as well. For instances, our onions we planted in late April from seed! Our oldest even laughed at us for that. He knew we were not going to have any success from them.

Among several things that we have done to amend the soil for this year we were also determined to have a good onion crop. Back in November we planted some winter onions that Mama gave us. Then we bought onion and garlic sets from Tractor Supply in February. We planted the onion and garlic sets in late February and they are doing wonderfully! We are trying to mulch in between rows with leaves to keep the weeds down.

Onion Sets and Winter Onions
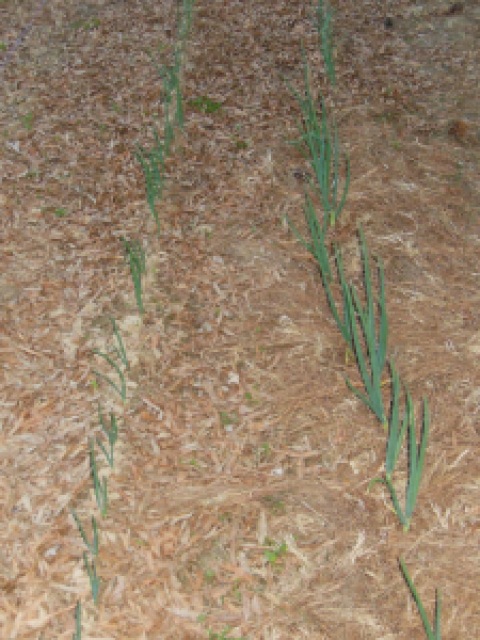
Left: Onions From Sets.  Right: Winter Onions

Continue reading “Winter Onions – 5 Month Update vs. Annual Onion Sets”

Winter Onions – 4 Month Update

Back in November we posted about our first time planting winter onions. There were several interested so we wanted to be sure and give an update on them. They are growing nicely and are starting to really get some thickness. We are very excited as last year our onions were disappointing (albeit it our fault).

4 Month Update Walking Onions
4 Month Update Winter (Walking) Onions

More from the Winter Onions Series:

Our First Winter Onions
4 Month Update
5 Month Update (Comparison to Annual Onion Sets)
6 Month Update
Harvesting and Curing Onions
One Year Update

Winter Chores: Preparing The Garden Soil

After last year, our first year having a garden, we determined to do things much better this year.  We kind of threw our garden together at the last minute last year.  On the bright side we did learn a lot out of our failures.  Not everything was a failure. We did get a better harvest than we expected from the haphazard way we threw our garden together.  But this year is going to be different, we hope.

We have done a lot of things to fix our pH, which we believe to have been a major problem with our garden last year.  In the fall, we burned a large pile of brush we had collected and spread the ash over the garden.  We also tilled in a bag of lime.  At last check, our pH was between 6.0 and 6.5.  A huge improvement over the 5.0 we had in the fall.

Next, we decided that we needed more organic matter.  Lots of compost.  We built a compost bin last summer and have done a good job of throwing in our waste in the bin.  Unfortunately, we had a lot more grass clippings and not enough leaves and vegetable waste to make a good balance for composting.  It also did not get turned as regularly as it should have, and the biggest problem I think was that it was not wet enough most of the year.  So, due to those factors, we have not gotten very much home made compost to add to the garden.
Continue reading “Winter Chores: Preparing The Garden Soil”

Winter Onions

My Mother-in-law gave us a bag of a dozen small onion bulbs.  She called them winter onions.  We did not have any luck with our onions this past year, but that is another story.  We had never heard of winter onions before, so we set out researching these things on the internet. What I read about these little gems make them seem to be rather amazing little plants.

As it turns out, the little bulbs she gave us are called bulbets. They grow out from the top of the little green onion stalks that grow up out of the ground from the onion bulb.  From the looks of the ones we were given, you get one to four bulbets in little bunches.
Continue reading “Winter Onions”