Many weeks ago I came across a pin on Pinterest for DIY Wallflower Scented Plugin Refills. As with other nifty pins that I find I pinned it with plans of trying it myself eventually. I currently use a few Wallflower Scented Plugins in our home. I love them, but the refills are quite expensive. I always try to buy 5 or more to get them at a better price.
Plant Trees Not Sticks
Last spring Jon and I started discussing and had decided that we wanted to plant some fruit trees. While our grapevines and blueberry bushes have done quite well, nothing else in the long list of bare root vines and trees had any success. We watered and mulched and watched them all year, but absolutely none of the bare root trees survived!
We left all the “sticks” planted until this season just on the chance they were some how still dormant, but it is evident they are dead.
Planting Bare Root Strawberries
I was wanting to try growing our own strawberries this year. I said I would never try bare root plants again, but here we go. Tractor Supply had Ozark Beauty Everbearing Strawberries for $4.99 for 10 plants. I figured even if they did not turn out well, there would not be much lost.
Continue reading “Planting Bare Root Strawberries”
Winter Onions – 4 Month Update
Back in November we posted about our first time planting winter onions. There were several interested so we wanted to be sure and give an update on them. They are growing nicely and are starting to really get some thickness. We are very excited as last year our onions were disappointing (albeit it our fault).

More from the Winter Onions Series:
Our First Winter Onions
4 Month Update
5 Month Update (Comparison to Annual Onion Sets)
6 Month Update
Harvesting and Curing Onions
One Year Update
Chicken Cam – Barred Plymouth Rock Chicks 8 Days Old
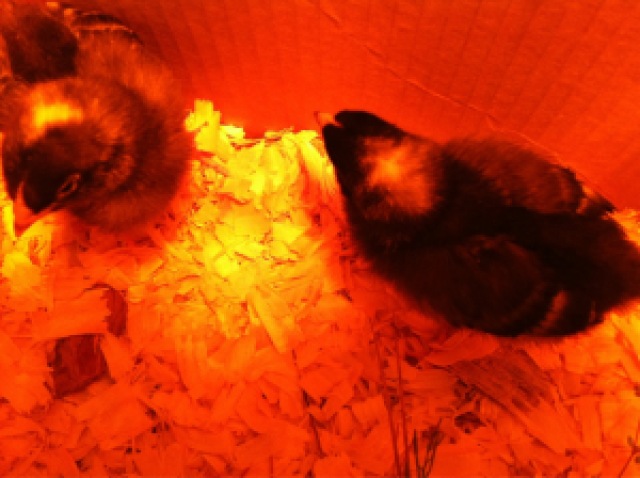
I am behind on posting pictures of our new little ones. These were taken a few days ago and are when they were 8 days old. These are the 3 barred plymouth rocks that we got from the straight run at Tractor Supply. They are so cute. One of them is so much bigger than the other two.
Continue reading “Chicken Cam – Barred Plymouth Rock Chicks 8 Days Old”
Exploring the Land
Last Saturday Jon was off and we were blessed with some gorgeous weather in the 70’s. Working in the restaurant business, he does not get many Saturdays off. So, we headed to the land for the day. We ate a big breakfast at a nearby truck stop on the way and packed lunch and snacks for the day.
There are several logging roads and paths cut through the land. Some have been kept clearer and in better shape than others. The first thing Jon wanted to do was to clear out one of the paths that had grown up with a lot of brush and briars so that we could better access that side of the property.
While Jon started on that, Sarah and I went exploring. This is really the first time she had seen it. The last time she was with us when we were out there it was raining and cold and we had not purchased it yet. She just sat in the truck that day while we looked at it more trying to determine if we were going to put in a offer. The first thing she had to see of course was the creek.
Chicken Cam – 6 Weeks Old
The girls are now 6 weeks old. They are starting to get used to their coop and are beginning to venture out further into the chicken run. They will hop, scratch, and fly about outside. Then one will run back into the coop and they will all run back into the coop. A few minutes later, they are back outside. They are so funny.
Continue reading “Chicken Cam – 6 Weeks Old”
Building The Chicken Run
After building the chicken coop for our new chicks, we turned our attention to the chicken run. We wanted to give our chickens as much room to roam in complete safety as possible without spending a lot of money. They will get to free range in the backyard as much as possible, but we needed an area where they could be safe while we were away at work and still get out of the coop.
We wanted it to be completely enclosed and since chicken wire came in a 50′ roll, we decided on a 6′ x 10′ area. The coop would take up 3′ of one side so these dimensions required 49′ of chicken wire.
I began by digging a 6″ deep trench where the fence would go and 10″ deep holes for the posts. The chicken wire would be buried 6″ deep to stop digging predators from entering under the fence.
Next I built the back side of the fence. 3 posts with a top rail and a bottom rail that would sit on the ground. We attached the chicken wire to the fence with a staple gun and dropped the posts into the holes. This way we could bury the posts and the chicken wire at the same time. Do not be stingy with the staples. As we found out in our recent chicken disaster you do not want to have an area that is not securely attached. After that incident I went back and put a staple in every other ring on the chicken wire all the way around the run.
Building the Chicken Coop
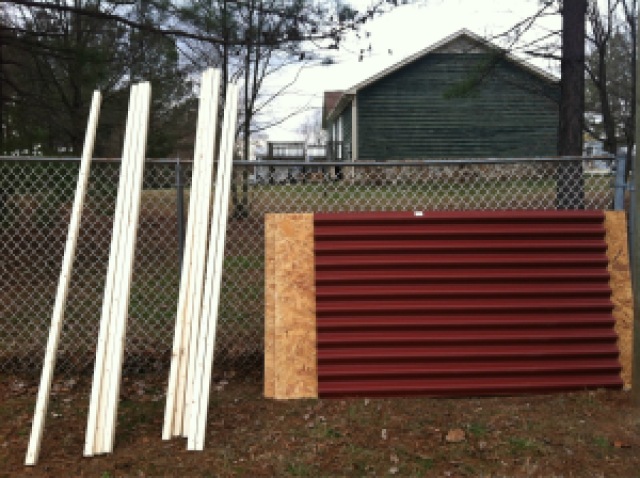
The basic design for our chicken coop was a 3’x4′ square. 3′ tall with a simple slanted roof. It is to house chickens so it is not necessary to go overboard, and I am very proud of myself as I usually go overboard.
Lowe’s had 2×3’s on sale. 2×4’s are the usual material for wall studs and floor joists but let’s face it, chickens don’t weigh that much. With the price of lumber (as well as everything else) these days, any savings was appreciated. I decided to use 1/4″ OSB instead of plywood due to the price difference. The moral here is, while we love our chickens, they are still just chickens and don’t need a “William Sonoma” mansion.
 |
| Chicken Coop Materials from Lowe’s |
Continue reading “Building the Chicken Coop”
More TSC Chicks
Have I mentioned that we love Tractor Supply? Friday evening we went into TSC to get some more chicken feed for the chicks. Of course we always have to look around no matter what the time of year. But being it is “Chick Days” we strolled on over the see if there were any baby chicks or ducks left.
I couldn’t resist. I had to take a few pictures of those adorable balls of puff!
Continue reading “More TSC Chicks”


