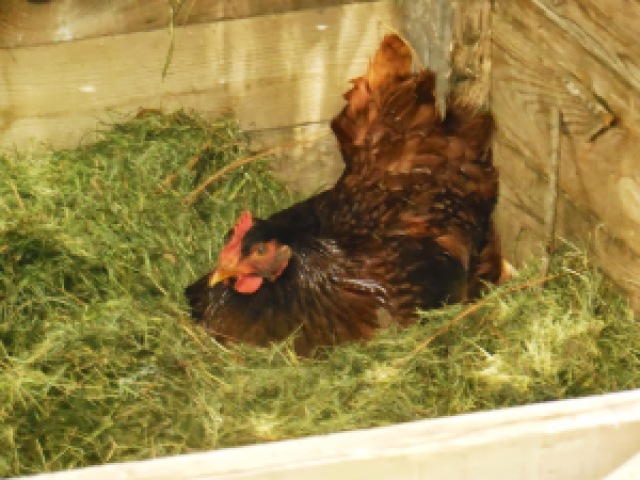
Jon found Red nestled in the compost bin on some soft grass clippings.
 |
| Red Nestled In |
Shortly after we integrated the new chicks into the flock, we had noticed some of the younger chickens were roosting in the edge of the nesting box. Although we had not seen any of them just hanging out in the nesting box there were signs (chicken poop). It is possible this would not develop into a bad habit, but I did want to break them of this before it became a problem.
So, last Saturday I decided to make some nesting box curtains for the coop. I dug through my big bag of various material and scraps. I toyed with using some black and white cow print material that was left over from one of my son’s Halloween costumes as a child. He is graduating college in a couple of weeks….if that tells you how long I’ve had it. But then I found this old pink and white material that was perfect.
Continue reading “Nesting Box Curtains”


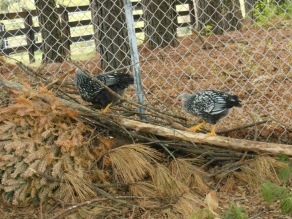
They love playing on the brush pile!
Continue reading “Chicken Cam: Spring Frolicking”
Sunday at my parents’ house while sitting around the table eating lunch after church I began telling the family about my experience the day before with adding the new young chicks to our existing flock. As they sat around snickering at me my sister tells me, “That’s one for the blog!”. I thought to myself, “Hmmm, I don’t know if I want to share that or not”. But here goes.
First, let me clarify that our existing flock is not full grown chickens. They are about 10 weeks old now. They are getting close to full grown size, but not quite there yet. They also have partial comb and wattle growth, but they have not completely grown in. Here are a few pictures of them about a week ago, but they have already grown more since then.
A week ago we had taken the new baby barred rocks outside for their first time to play and explore. This Saturday the weather was gorgeous. It was warm and sunny. We decided to take the barred rocks out for another field trip and try out introductions to the bigger gals.
I am behind on posting pictures of our new little ones. These were taken a few days ago and are when they were 8 days old. These are the 3 barred plymouth rocks that we got from the straight run at Tractor Supply. They are so cute. One of them is so much bigger than the other two.
Continue reading “Chicken Cam – Barred Plymouth Rock Chicks 8 Days Old”
The girls are now 6 weeks old. They are starting to get used to their coop and are beginning to venture out further into the chicken run. They will hop, scratch, and fly about outside. Then one will run back into the coop and they will all run back into the coop. A few minutes later, they are back outside. They are so funny.
After building the chicken coop for our new chicks, we turned our attention to the chicken run. We wanted to give our chickens as much room to roam in complete safety as possible without spending a lot of money. They will get to free range in the backyard as much as possible, but we needed an area where they could be safe while we were away at work and still get out of the coop.
We wanted it to be completely enclosed and since chicken wire came in a 50′ roll, we decided on a 6′ x 10′ area. The coop would take up 3′ of one side so these dimensions required 49′ of chicken wire.
I began by digging a 6″ deep trench where the fence would go and 10″ deep holes for the posts. The chicken wire would be buried 6″ deep to stop digging predators from entering under the fence.
Next I built the back side of the fence. 3 posts with a top rail and a bottom rail that would sit on the ground. We attached the chicken wire to the fence with a staple gun and dropped the posts into the holes. This way we could bury the posts and the chicken wire at the same time. Do not be stingy with the staples. As we found out in our recent chicken disaster you do not want to have an area that is not securely attached. After that incident I went back and put a staple in every other ring on the chicken wire all the way around the run.
The basic design for our chicken coop was a 3’x4′ square. 3′ tall with a simple slanted roof. It is to house chickens so it is not necessary to go overboard, and I am very proud of myself as I usually go overboard.
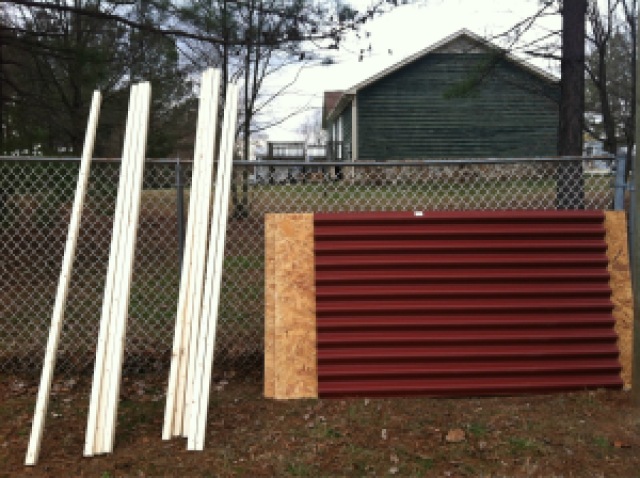
Lowe’s had 2×3’s on sale. 2×4’s are the usual material for wall studs and floor joists but let’s face it, chickens don’t weigh that much. With the price of lumber (as well as everything else) these days, any savings was appreciated. I decided to use 1/4″ OSB instead of plywood due to the price difference. The moral here is, while we love our chickens, they are still just chickens and don’t need a “William Sonoma” mansion.
 |
| Chicken Coop Materials from Lowe’s |