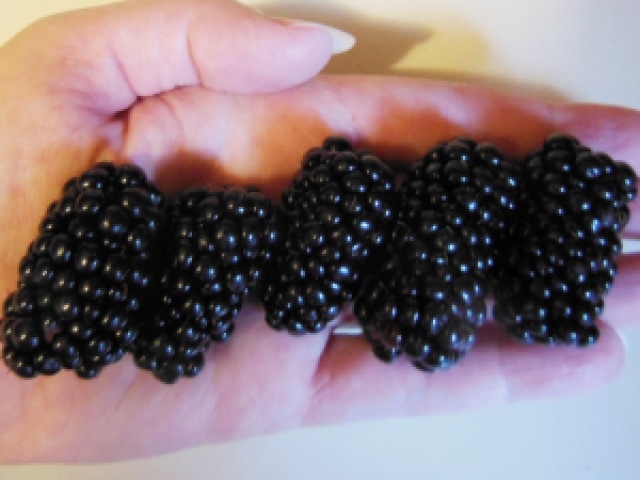
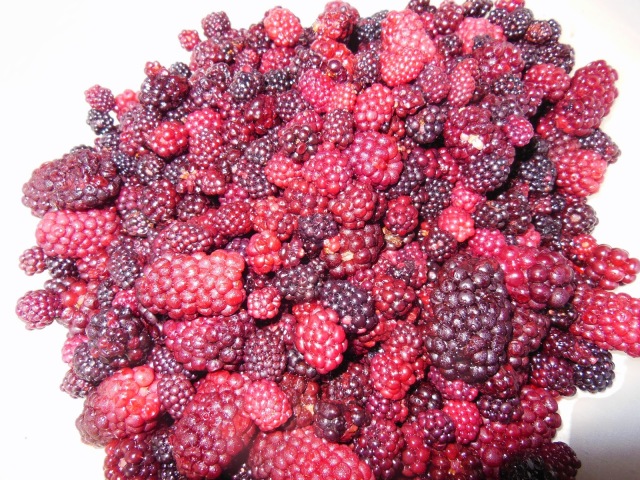
We were pleasantly surprised this year by the size and amount of blackberries we picked from our 2 blackberry canes that we planted last year. I made a couple of blackberry cobblers with some of the harvest. We picked the rest as they came in a little at a time and put them in the freezer. We also picked a few wild blackberries from our rural property and froze them. The blackberries from our thornless canes are substantially larger than the wild blackberries, but we are thankful for them all. It is ok to pick a few of your berries a little early before they have completely ripened (with just a touch of red in them) if you intend to use them for jam. The tart red blackberries have more pectin and will aid in the jam setting up. Still the majority of our berries were fully ripe when picked. All total I believe we froze about 4 gallons of blackberries.
 |
| Large Blackberries from Our Thornless Canes |
 |
| Smaller Wild Blackberries |
Once we had enough we decided to make some blackberry jam. Freezing is so convenient if your berries are coming in small batches or if you just do not have time to use them. We pulled the frozen blackberries out of the freezer and ran the bag under some cold water to thaw. They thaw rather quickly. After frozen and thawed, the berries do not look very black any more.
You can make your jam with fresh or frozen berries. We are not a big fan of seeds in blackberries (especially the large berries from our thorn less canes). So, we ran them through our Foley hand crank food mill. The Foley hand crank can be a great upper body workout! (Too bad I’m not ambidextrous)
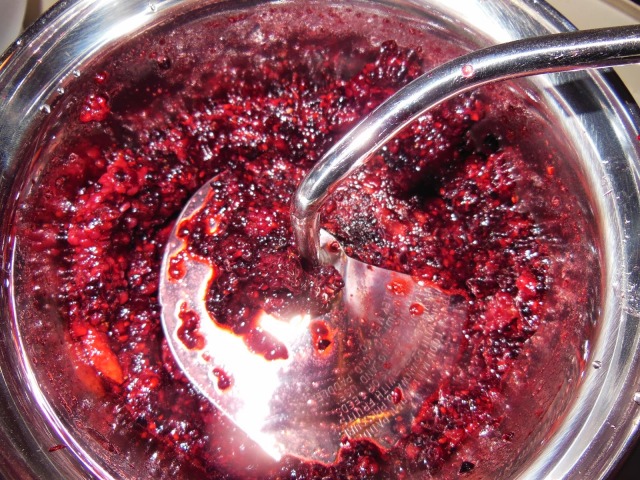
Measure the blackberry pulp after running it through the food mill. We put our 4 cups of blackberry pulp in a large pot on medium heat.
Once it has come to a full boil add equal parts sugar (4 cups) and stir. Continue stirring bringing it to a full boil again. There are multiple ways to “test the jelly point”. When making our crab apple jelly this past fall we tried to use the sheeting off a spoon method. We decided this time we would use a thermometer. So we continued to stir and let the mixture boil until it reached 220 degrees.
We then removed from the heat and skimmed the frothy foam off of the top into a measuring cup. We read somewhere that we could microwave the “froth” and it would return to regular jam consistency and it did.
We filled 11 1/2 pint jelly jars with 1/4 head space, wiped the rims, and put lids and rings on. Do not over tighten the rings. The jars were placed in a water bath with 1 inch of water above the jars and boiled for 5 minutes.
Gently remove the jars from the water bath with a jar grabber and place them upright on a towel to cool. Once all the centers of the jars have set and the jars are cooled you’re done!
It has been a big hit with the entire family. Jon shared a jar with his college buddies on a golf outing. It was a hit and we even got a request to make some with stevia for his diabetic friend. We are much happier with how this came out compared to our crab apple jelly (although we still ate it too). Not too bad for only our second jelly/jam making.
Blackberry Jam Recipe
- Equal parts blackberries and sugar
Equipment
- Food Mill
- Large Pot
- Canning Jars
- Canning Lids and Rings
- Jar Grabber
- Magnetic Lid Lifter
- Jar Funnel
- Spoon/Ladle
- Canner
Featured at:
 |


