We are just weeks (maybe a month) away from our move to our “new to us” farmhouse. We have been quite busy and we have failed miserably at keeping the progress updates flowing. We took a week off from work after Christmas with plans to get a lot accomplished at the new house. Although, we did stay very busy, the excessive rain we received delayed much of our moving and work outside. Although it was still wet Friday, it had dried up enough that we Jon was finally able to make some progress on the outside tasks. A big part of our move is of course moving our chickens which requires constructing a new chicken run.
The move will give us the opportunity to expand the chicken run size and also make improvements to our original chicken run design. Don’t get me wrong our first chicken run has served us well, but it was our first. And with most all things we do we learned a lot from the building process and the use of the original chicken run.
For instance, we learned real quick how much easier it would be if our chicken run was tall enough to walk through. A small short chick run saves on materials, but can be very inconvenient when we needed to get a chicken or clean the space. Even if you have kept new chickens closed up in their new coop for several days to accustom them to their new home, they do not always learn the first night out to go back in the coop. More than once we have had to crawl around in the dark in that short run to scoop up a chicken that had decided to roost somewhere in the run rather than going back in the coop. So, as you can see we will be able to easily walk upright in this new chicken run!
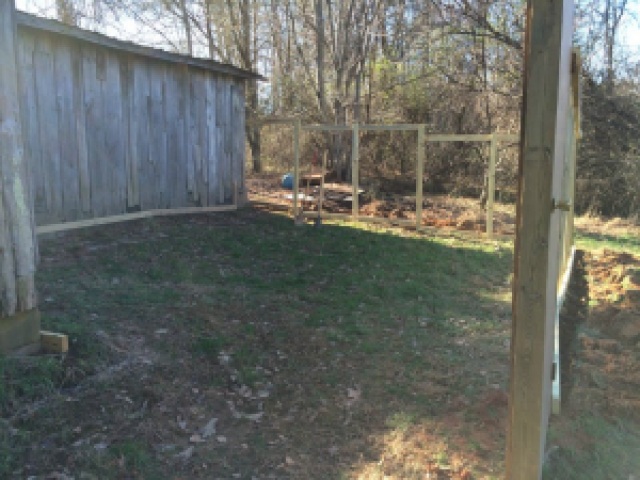
Our new farm comes with a wonderful old barn. We decided to place our coop and chicken run on the backside of our barn. Two walls of the chicken run frame are fixed to the barn. The barn is old and does have some area underneath where a predator could crawl under. Hard wire cloth was attached to the barn wall and a the bottom of the chicken run frame and buried. The use of a sturdy hard wire cloth and burial of the fencing should safely secure the barn side of the run.
 |
| Chicken Run Attached to Old Ban |
We also decided to give our chickens a much larger area to roam. Right now they even have grass in the run area, but I’m sure they will decimate that soon enough. To the right you can see the door to the chicken run. We also had a few issues with the door on our original chicken run. This time we did not make the door, but used an old door we had in the barn that was still attached to the door frame complete with working door knob and lock. In the barn and other building we have an excess of various old doors of different types. Most of them measure the same dimensions, so if we ever need to replace this door due to weathering, we have plenty more!
 |
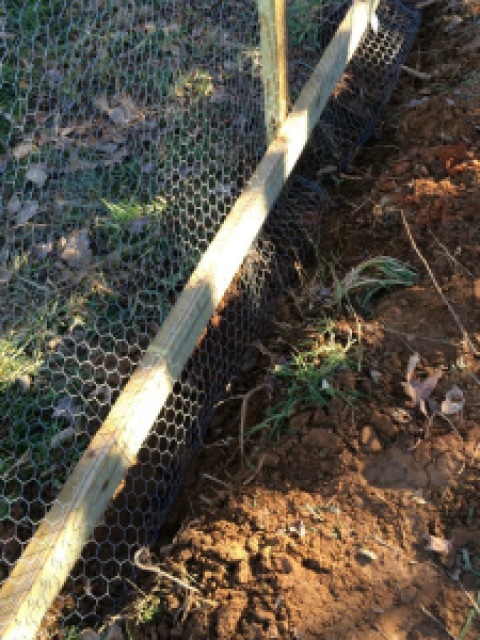
| Buried Chicken Wire On Chicken Run |
For the two sides of the chicken run not attached to the barn we decided to go with standard chicken wire. I know, I know, hard wire cloth is better. But it is really expensive when purchasing in volume. So we opted to use the hard wire cloth on the back side at the barn and where it would be a real difficulty if we need to repair or upgrade later and settled on chicken wire for the more easily accessible sides of the chicken run (in case we need to upgrade it later). The chicken wire was also buried securely.
If Jon ever “frees up” he may elaborate on specific design and details of the chicken run, but for now I just wanted to share what we Jon have been up to.
Featured at:
 |
