
After building the chicken coop for our new chicks, we turned our attention to the chicken run. We wanted to give our chickens as much room to roam in complete safety as possible without spending a lot of money. They will get to free range in the backyard as much as possible, but we needed an area where they could be safe while we were away at work and still get out of the coop.
We wanted it to be completely enclosed and since chicken wire came in a 50′ roll, we decided on a 6′ x 10′ area. The coop would take up 3′ of one side so these dimensions required 49′ of chicken wire.
I began by digging a 6″ deep trench where the fence would go and 10″ deep holes for the posts. The chicken wire would be buried 6″ deep to stop digging predators from entering under the fence.
Next I built the back side of the fence. 3 posts with a top rail and a bottom rail that would sit on the ground. We attached the chicken wire to the fence with a staple gun and dropped the posts into the holes. This way we could bury the posts and the chicken wire at the same time. Do not be stingy with the staples. As we found out in our recent chicken disaster you do not want to have an area that is not securely attached. After that incident I went back and put a staple in every other ring on the chicken wire all the way around the run.

With the back side sturdy, I built the other 3 sides and attached them to the back side. I left the post sitting in their holes to fill in after the chicken wire was attached. Then it was a simple task of stapling the wire to the fence.


I did leave a two foot section between posts to add a door. The door required some precise construction to not leave any gaps for chickens to escape or predators to enter. Underneath the door we buried a leftover piece of OSB from the coop construction. This was also buried 6″ and came up a few inches flush with the back of the door.

One note on the posts next to the chicken coop. These were placed to be right up against the chicken coop. We also attached the wire to the posts and to the coop itself for redundant security.

The chicken coop was 6′ wide and the chicken wire was only 3′ wide. So I built a simple T out of 2×4’s to break the top into 3 3′ wide sections. I could have used one 10′ board to run down the center, but then I would have to mount it onto the coop at one end, and this way was easier. It also added some front to back support which was very handy for those long 10′ sides. All that was left was to staple to top to the supports and the top fence rail.
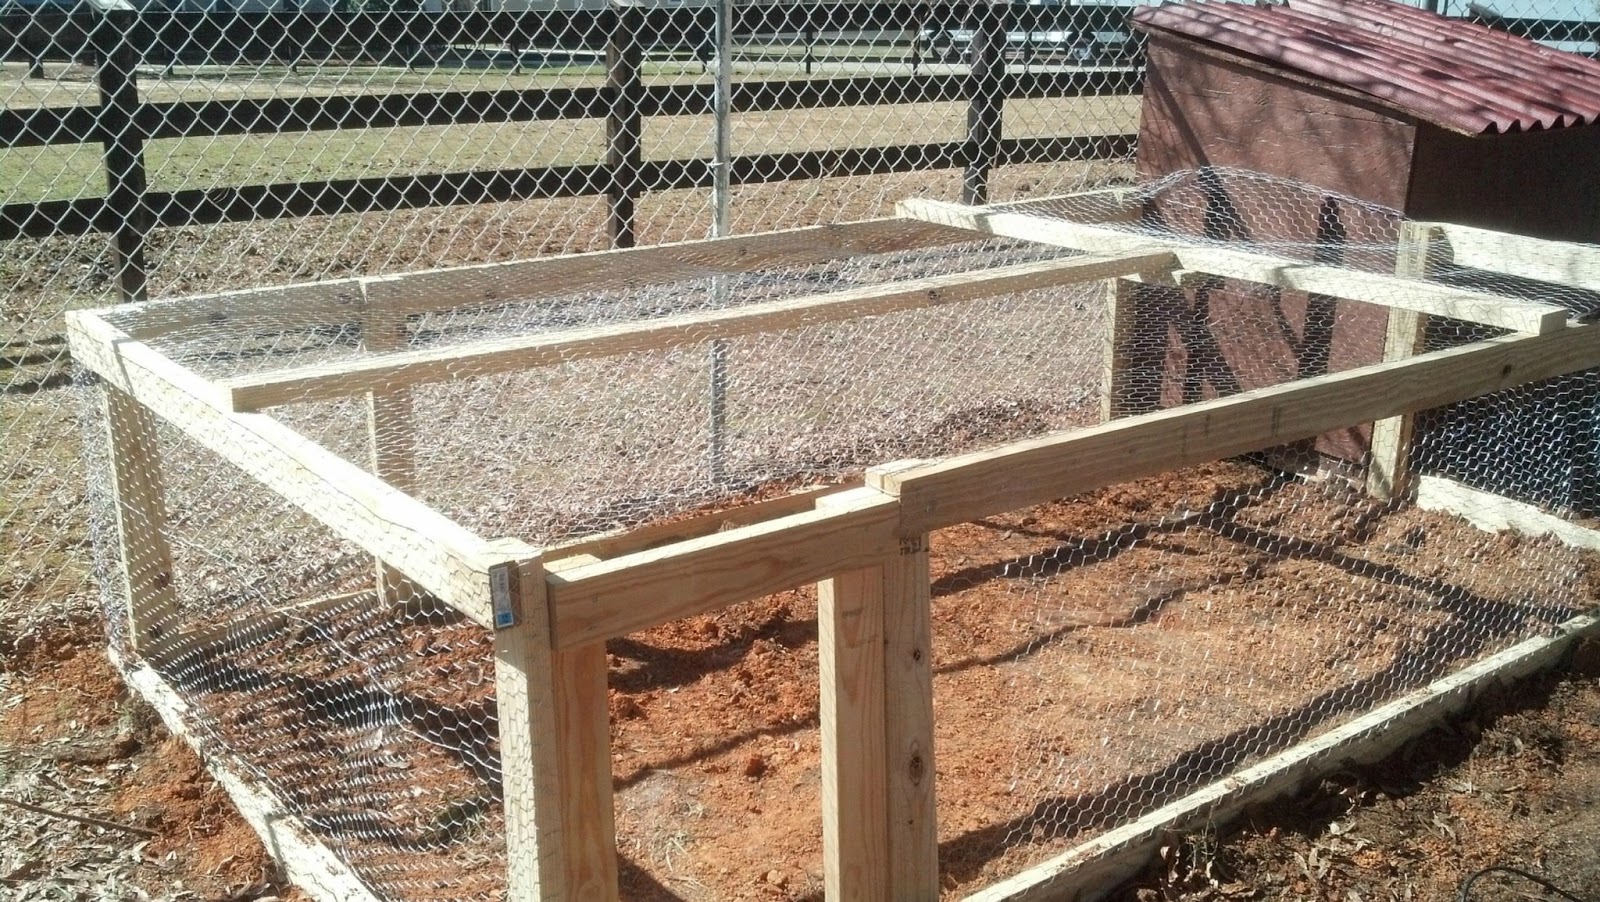
One added feature was the string to open and close the coop door. I placed an eye bolt over the center of the door outside the chicken wire, ran a string from the door, through the wire and the eye bolt, and tied a loop around a nail placed on the fence rail to hold the door open. Now we can easily open and close the door from outside the coop.
The only draw back to this design is that the run is only 30″ high. Not too big of a deal until we have to enter the run, like when I realized I forgot to build a ramp up to the door of the coop, duh!
